How to Automatically Solve Yandex CAPTCHA in Python with Captcha Solver

Contents
Your automated test fills in the form, clicks the button, and then stops at Yandex SmartCaptcha. The reason is simple: the website needs more than a widget click. It expects a one-time token tied to the correct page and sitekey.
Here is the shortest practical path: Selenium reads the widget parameters, Captcha Solver returns a token, and the ready-to-run example passes it to the form and checks the website response. You can adapt this workflow to a test environment.
How the Token Flow Works#
The flow has six steps:
- Selenium opens the page containing Yandex SmartCaptcha.
- The script reads the URL, public
sitekey, and browser User-Agent. - A
YandexSmartCaptchaTaskProxylesstask is sent to Captcha Solver. client.solve()waits for the readysolution.token.- The token is written to
smart-tokenor passed to the callback defined by the integration. - The form is submitted, and the script waits for a real success signal from the website.
Users normally see a compact “I'm not a robot” checkbox first. If SmartCaptcha considers the request suspicious or the maximum difficulty is configured, it displays an additional challenge, such as text recognition.
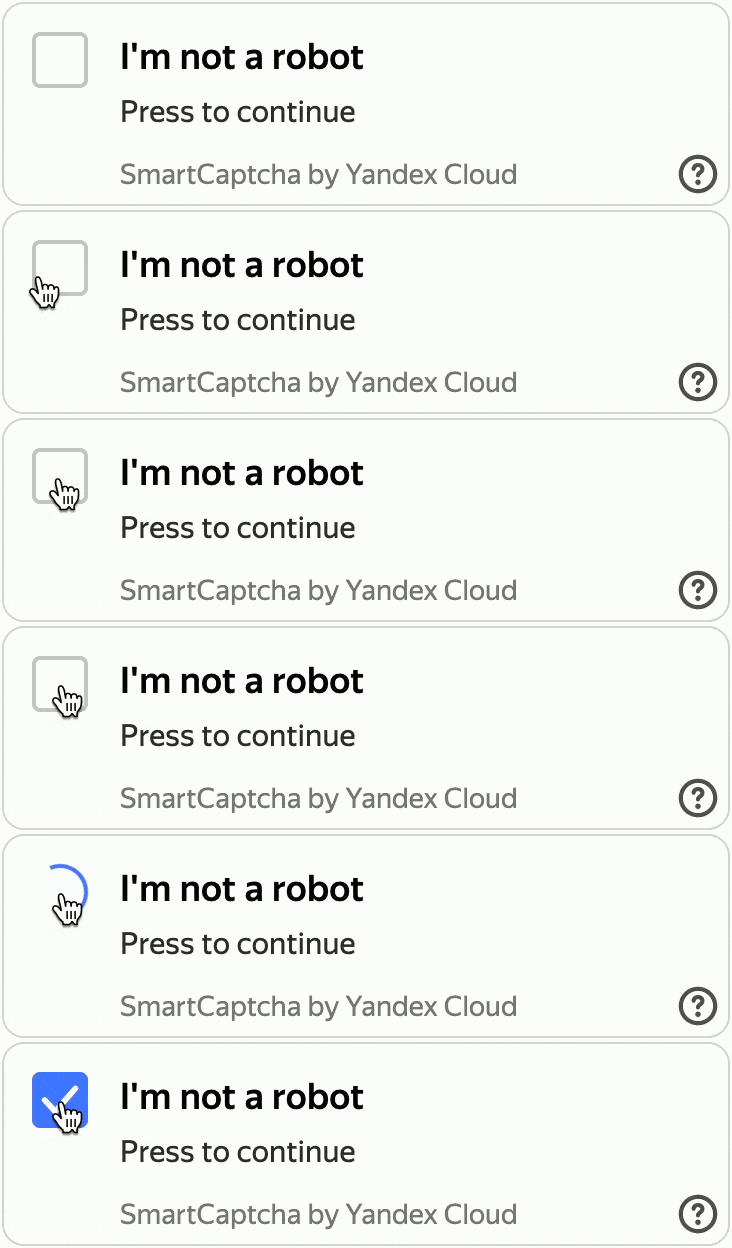
The main SmartCaptcha checkbox interface. Source: Yandex Cloud.
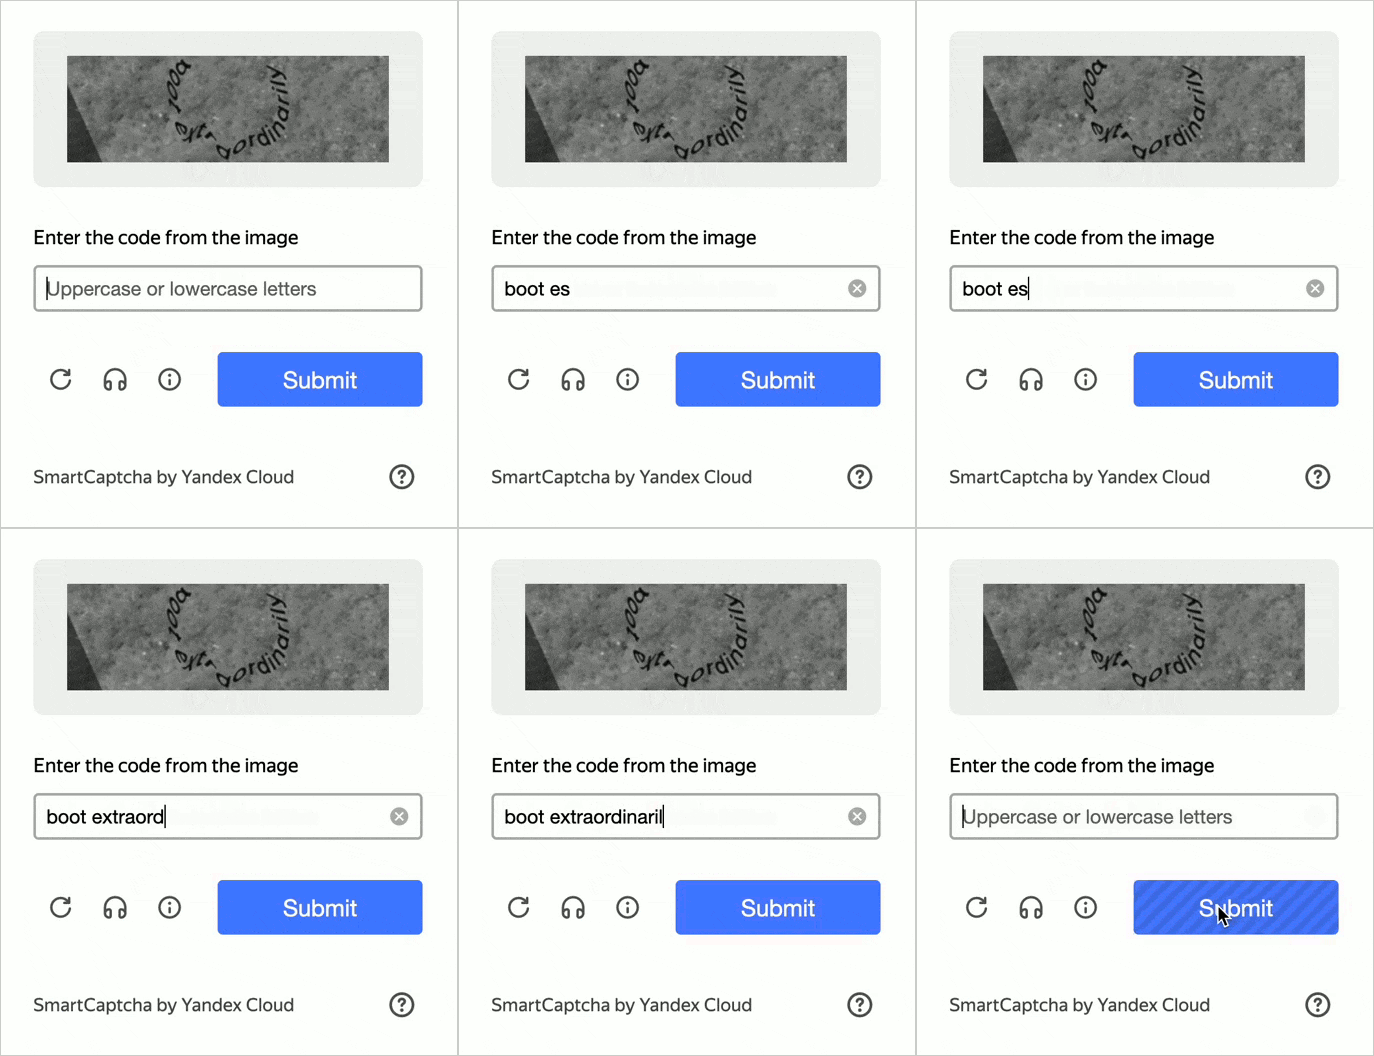
An example of an additional text-entry challenge. Source: Yandex Cloud.
In this article the captcha is solved entirely through a token, so the additional challenge never has to be passed. If your scenario requires solving the image challenge itself, there are two separate task types for that. SmartCaptchaTask handles selecting objects by an instruction image and returns click coordinates, while PazlCaptchaTask assembles the Kaleidoscope puzzle and returns the number of slider arrow clicks. Neither type needs a sitekey or a proxy; you send only the images. Parameters and response examples are in the documentation: Yandex SmartCaptcha Image and Yandex SmartCaptcha Kaleidoscope.
Prepare Python and Chrome#
You need Python 3.9 or newer, Git, Google Chrome, a Captcha Solver account, and a positive balance. The ready-to-run example is already in the repository, so you do not need to copy a script from this article.
macOS and Linux:
git clone https://github.com/captcha-solver-api/captcha-solver-selenium-python-examples.git
cd captcha-solver-selenium-python-examples
python3 -m venv .venv
.venv/bin/python -m pip install -r requirements.txt
export CAPTCHA_API_KEY="your_api_key"
export TARGET_URL="https://captcha-api.yandex.ru/demo"
.venv/bin/python examples/yandex_smartcaptcha.py
Windows PowerShell:
git clone https://github.com/captcha-solver-api/captcha-solver-selenium-python-examples.git
cd captcha-solver-selenium-python-examples
py -m venv .venv
.\.venv\Scripts\python.exe -m pip install -r requirements.txt
$env:CAPTCHA_API_KEY="your_api_key"
$env:TARGET_URL="https://captcha-api.yandex.ru/demo"
.\.venv\Scripts\python.exe examples\yandex_smartcaptcha.py
If the repository is already downloaded, skip git clone and open the captcha-solver-selenium-python-examples folder. TARGET_URL is set explicitly so a value in .env cannot silently switch the example to another page. For later runs, open the repository folder, set both environment variables, and run the final command for your OS.
Task Parameters: What to Send and Where to Find Them#
| Parameter | Required | Source |
|---|---|---|
websiteURL |
Yes | URL of the open page |
websiteKey |
Yes | data-sitekey or widget configuration |
userAgent |
No | navigator.userAgent from the browser |
Selenium reads the URL and User-Agent from the open browser. The sitekey is usually stored in the widget container’s data-sitekey attribute.
The snippets below show the key parts of the full example; imports, browser setup, and shared helper functions are provided in the repository.
# Open the page and read parameters from the current browser session.
driver.get(URL)
widget = wait_for_css(driver, SITEKEY_SELECTOR)
sitekey = widget.get_attribute("data-sitekey")
page_url = driver.current_url
user_agent = driver.execute_script("return navigator.userAgent")
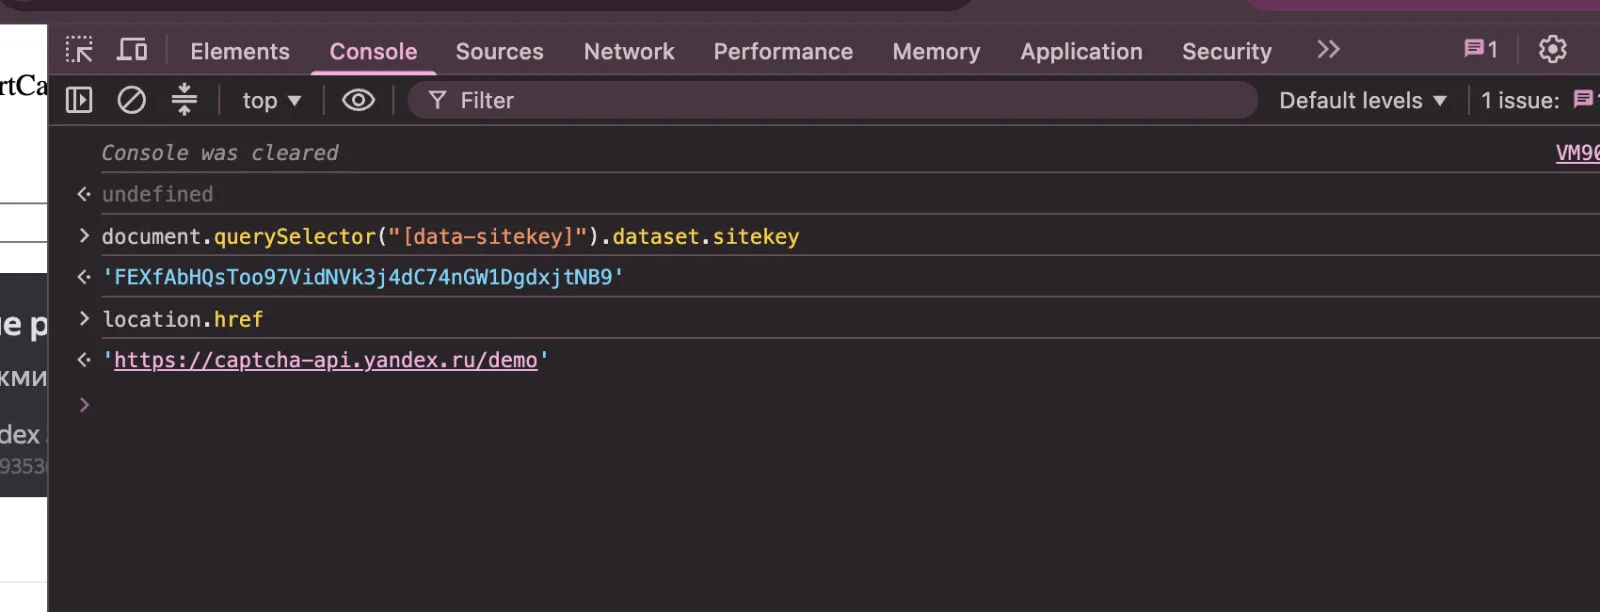
DevTools Console shows the widget's public data-sitekey and the URL of the official Yandex SmartCaptcha demo page.
If .smart-captcha[data-sitekey] is absent, inspect the window.smartCaptcha.render(...) configuration and the widget iframe. All parameters must belong to the same page and browser session in which the token will be used.
Ready-to-Run Example on GitHub#
Full example on GitHub uses SeleniumBase and the repository’s shared helpers to open the official demo, read data-sitekey and the User-Agent, obtain a token with YandexSmartCaptchaTaskProxyless, fill smart-token, and report success only after Hello, user! appears.
# The SDK creates the task and waits for the ready solution.
token = client.solve(
    YandexSmartCaptchaTaskProxyless(
        websiteURL=page_url,
        websiteKey=sitekey,
        userAgent=user_agent,
    ),
    timeout=180,
)["token"]
Run the example first with the official TARGET_URL set explicitly. A real paid task is created when the service is called, so do not loop the script after an error.
Pass the Token Through a Field or Callback#
In a regular HTML form, Yandex SmartCaptcha places the result in the hidden smart-token field. The ready-to-run example uses a shared repository helper to fill this field and notify the page about the change.
# Pass the token to the form and submit it.
wait_for_css(driver, 'input[name="smart-token"]')
fill_response_field(driver, "smart-token", token)
wait_for_xpath(driver, SUBMIT_LOCATOR).click()

# Confirm acceptance using the official demo response.
WebDriverWait(driver, 30).until(
    EC.text_to_be_present_in_element((By.TAG_NAME, "body"), "Hello, user!")
)
If the application processes the result through a callback, filling the field alone may not be enough. In your own configuration, check the handler name that receives the token and the application state it updates. Callback names are not universal: use only the actual integration of the authorized page.
Verify and Diagnose the Result#
Receiving a token does not prove that the website accepted it. On the demo page, Hello, user! is the confirmation. On your own website, wait for a success URL, a visible .success-message, or the operation result after server-side SmartCaptcha validation. According to Yandex documentation, the token is single-use and valid for five minutes.
If the form is rejected, open DevTools → Network and check:
- whether the form request payload contains
smart-token; - whether its value is non-empty;
- the HTTP status and response body returned by the server;
- whether the URL,
sitekey, User-Agent, and proxy, if used, match the current session.
For a JavaScript application rather than a regular HTML form, verify the callback invocation and application state update. Writing only to a hidden input may not be enough.
Why Choose Captcha Solver#
Connect Yandex SmartCaptcha to your automation with our Python SDK. You send the widget parameters, and we return a token that you can use in your form.
- Less integration code. Our SDK creates the task and waits for the result through one
client.solve()call, so you do not need to write your own status polling loop. - Flexibility for your workflow. We support tasks without your own proxy and tasks that use your proxy.
- Clear pricing. Yandex SmartCaptcha costs
$0.003per successful task —$3per 1,000 successful solves. See the pricing page for current terms. - Everything for a first run. We provide documentation and request examples, so you can start with the demo page and then adapt the integration to your form.
Get an API key from our dashboard and run our GitHub example, from widget parameters to confirmed form submission.
Automate only systems you own or systems whose owner has explicitly authorized you. Do not use this approach for spam, bulk registrations, or bypassing restrictions.
Start with the Demo#
- Open the dashboard and get your API key.
- Clone the repository, run the installation commands, and verify that
SUCCESSappears on the demo. - Then replace the URL, selectors, and success criterion with those of the authorized target page.
Useful links: